|
A Mod Too Far (:-)

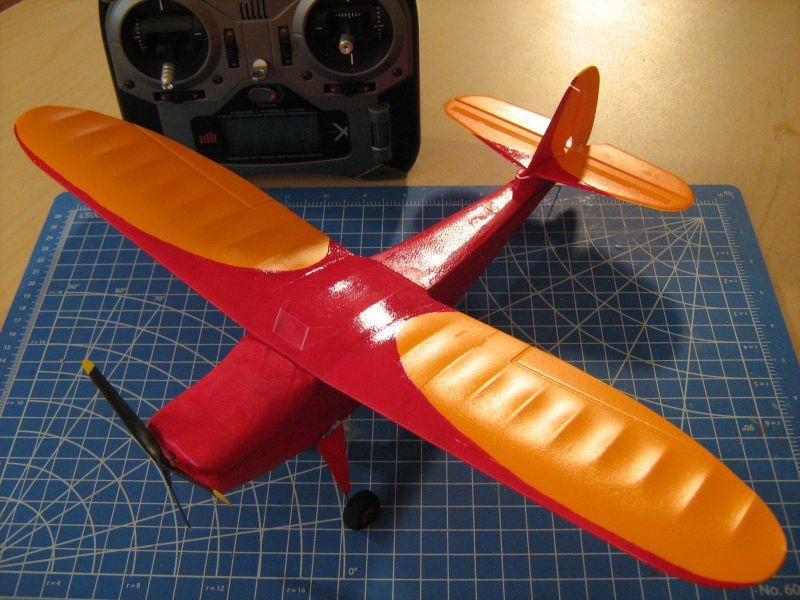
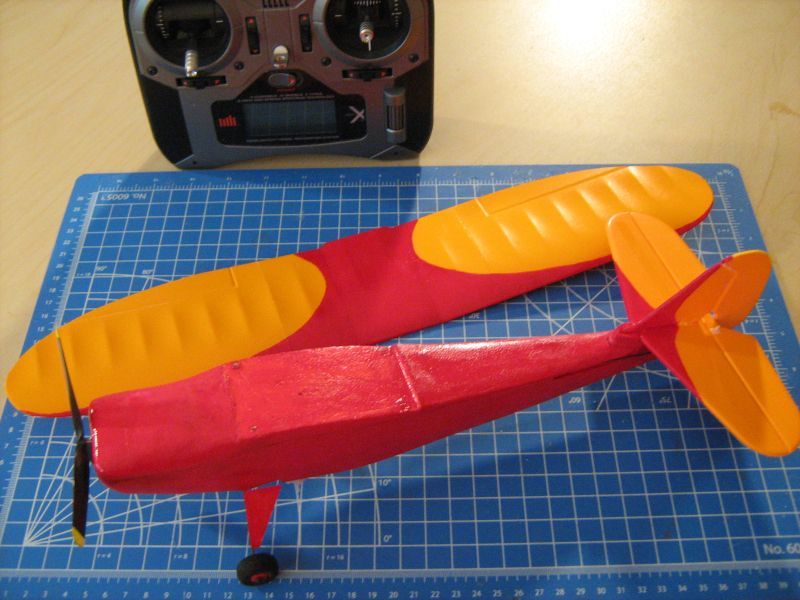
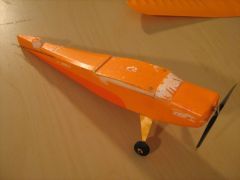
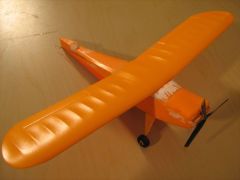
My Champ "CRX"
What I wanted to do:
After a bunch of Champ mods, all of which worked out surprisingly well, I decided to try yet another mod.
The Cessna CR1, CR2 and CR3 racers from the 30s always appealed to me and making a Champ look like them looked to be quick and fun. Because this was not meant to be terribly accurate I named my racer the CRX.
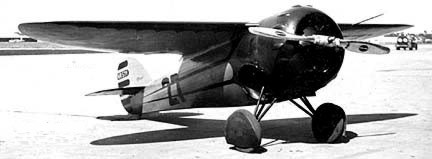

FF model of CR-3
Cessna CR-3
| 3-view of CR-2
| | | | | |
What I Did (lots more pictures below show it all):
-- did the standard
Mag-Wing mod so I could take the wing on/off.
-- chopped 2 rib bays off the wing (standard
Clipped-Wing mod).
-- trimmed and reshaped the wing trailing edge to a CR-type rakish outline.
-- reshaped the vertical stabilizer to match the look of the wing.
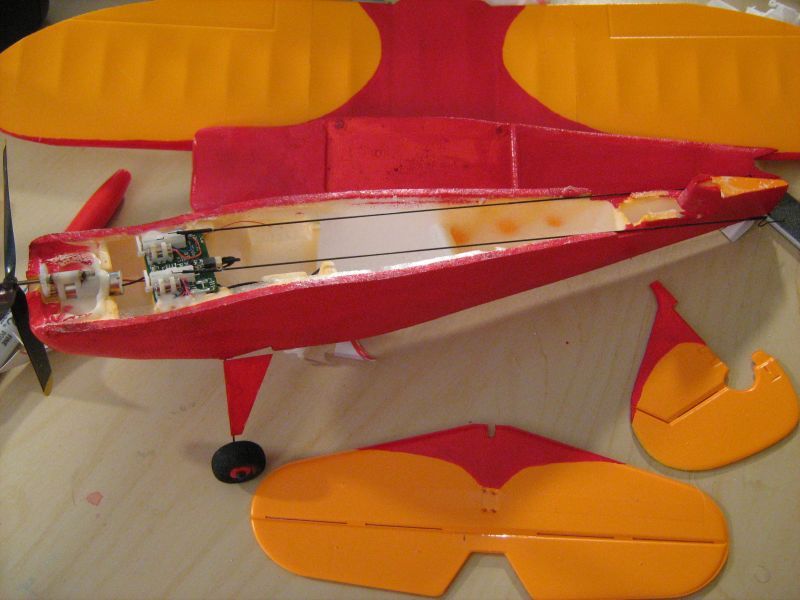
-- chopped the fuselage down so the plane is now a shoulder-wing layout.
-- used filler putty to fill in the cracks and dings so everything would look pretty after I painted it.
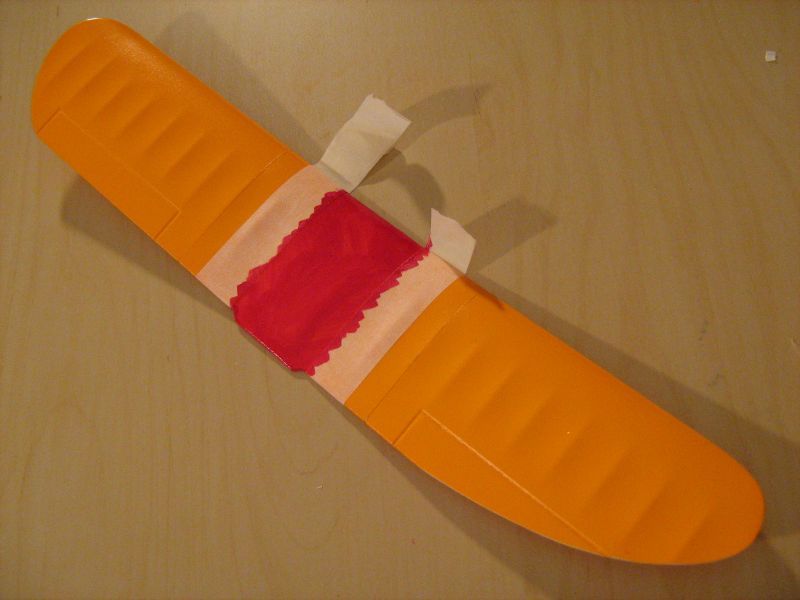
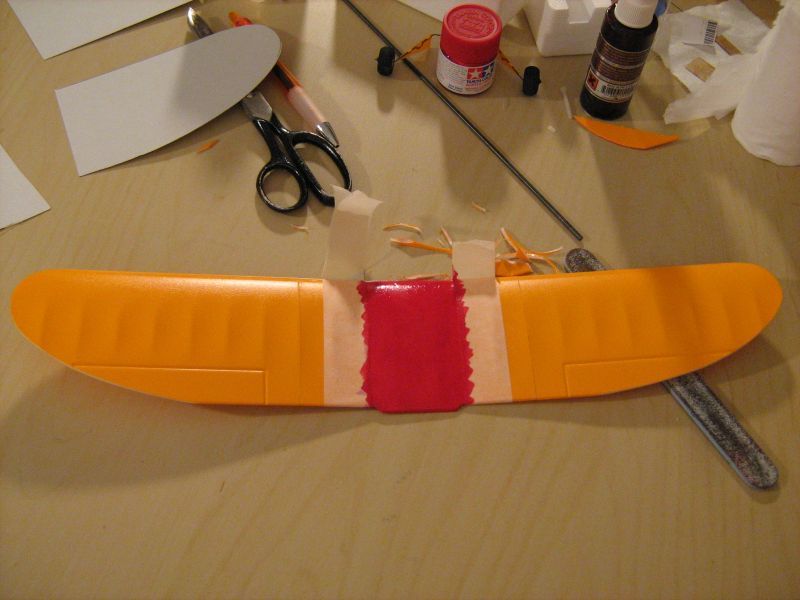
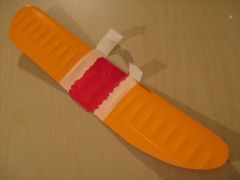
-- I was going to just paint the center section of the wing, but the paint bled under my masking tape so I ended up doing the swoopy thing on both sides of the wing.
-- painted the fuselage (which took several coats to look acceptable), the tail surfaces and the wing.
-- Lastly, when all was done, I went to fly.
How It Worked Out -- In a word ? TERRIBLE !!
The plane was way out of balance and required 3 pennies* taped to the nose to get it close to being in trim, but it still felt weird and needed a bunch more sorting out.
By the time we got it controllable (but not fun) the weather was closing in and we had to knock it off for the day. Because I had made all my mods in one shot, it was difficult to figure out what else to do to get it under control
So at the time, I had other projects going, and I didnt want to spend the time messing with it. To this point the CRX has only flown (badly) for the one day, and I would rather re-do the entire fuse than try to sort this one out, but who knows ....
What Lessons To Take From This? or
What Should I Have Done Differently ? or, if you decide to build one,
What Should YOU Do Differently ? (this also goes for any / all mods, not just the CRX)
There is an old saying in aviation that advises to "put an old engine in a new airplane". This is so you only have to flight-test one thing at a time and prevent avoidable surprises. The way this applies here is to try to only do 1 mod at a time and flight-test each time.
The biggest mod here was the shape of the wing. A plane's CG is really a wing's CG, not the plane's. So when you change the wing shape the CG will change. Cutting the wing down does not change the CG since the fore-aft weight and lift distribution is unchanged**. However, the change in the planform shape on the CRX brings the CG forward. I should have test-flown the plane after changing the wing shape and adjusted the CG accordingly. This would have enabled me to locate the correct CG location for the new wing shape, while knowing that the wing incidence and every other parameter on the plane was an unchanged, known quantity.
|
For people who haven't done a lot of messing around with planes yet, here are two other things to try to keep in mind:
-- Angle of incidence: the angle of the wing compared to a neutral lengthwise datum line that controls how everything in a plane is measured against. Generally, the wings will have a few degrees positive incidence compared to a neutral datum line. Compared to the wing, the horizontal stabilizer will be at zero incidence, which is called:
-- Decalage***: this is the difference in the incidence between the wing and the H stab. This is can also be managed by having the wing at 0 deg. incidence and the stab at negative incidence of a few degrees -- generally it does not matter how these two are managed, as long as there is the appropriate offset between the two.
|
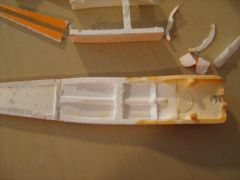
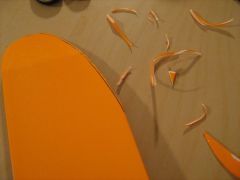
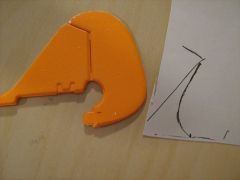
In this case, if you look at the pieces removed from the fuselage (picture #2) you will see a large H-shaped piece. This is a piece that came directly from under the wing. I attempted to remove a piece from under the wing cut so that it's top and bottom edges are parallel, which, theoretically, would guarantee that the wing's incidence was unchanged. However, since I didn't test it at the time, there is no way to check that I actually achieved this.
If I was doing this over, after Step 1 (alter the wing) and Step 2/3 (test fly/adjust the CG), I would have test flown with the wing installed in it's new location. I could have covered over the top of the fuse with some generic foam sheet for the flight test, but it would have been very good to know that the wing was mounted properly (and adjusted things if it wasn't).
After this, re-shape the tail, re-balance as needed (this removes a tiny bit of weight from the back, but it's got a long moment arm, and may have changed the plane's CG a tiny bit), and then test fly.
Finish putting together the complete top of the fuselage (as in picture #12), check and adjust CG, test fly
Depending on how the fore / aft balance had been going up to this point, and assuming that the general trend was showing more and more weight being needed in the front, it would have been pretty easy to take a slice 3/8-1/4" thick from the back of the fuselage. This would have removed some weight from the back (the slice itself) but also reduced the moment arm of the H and V stabs, which would have helped to restore some overall balance without having to resort to adding tons of nose weight. In addition, the shorter tail would help make it more maneuverable, which is in keeping with the point of the whole CRX thing.
At this point, the plane should be slightly noseheavy, because the paintjob will add more paint towards the back which will balance it out in the end.
So if you get to this point with an unpainted, slightly nose-heavy plane (nose-heavy flies ok, tail-heavy does NOT fly ok at all) that is test-flown and feels good, it would now be time to put everything together and paint it so it looks nice and pretty because we will have good assurance of good flying characteristics when all is said and done.
--------------------
* it doesn't sound like much if you're used to flying .60" size, but for a Champ it's HUGE.
** Only true on conventional configuration aircraft where the wing is across the CG. NOT at all true on canards and other "weird" layouts.
*** http://en.wikipedia.org/wiki/Decalage
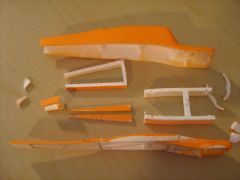
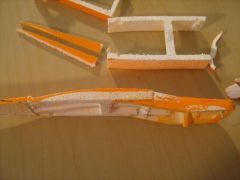
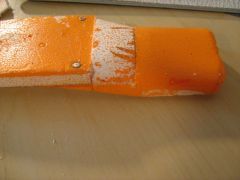
| 1 - I cut these pieces from the fuselage top. Stock fuse top is at the top, modified is at the bottom
| 2 - closeup
| 3 - inside story
| |
|

| 4 - closeup
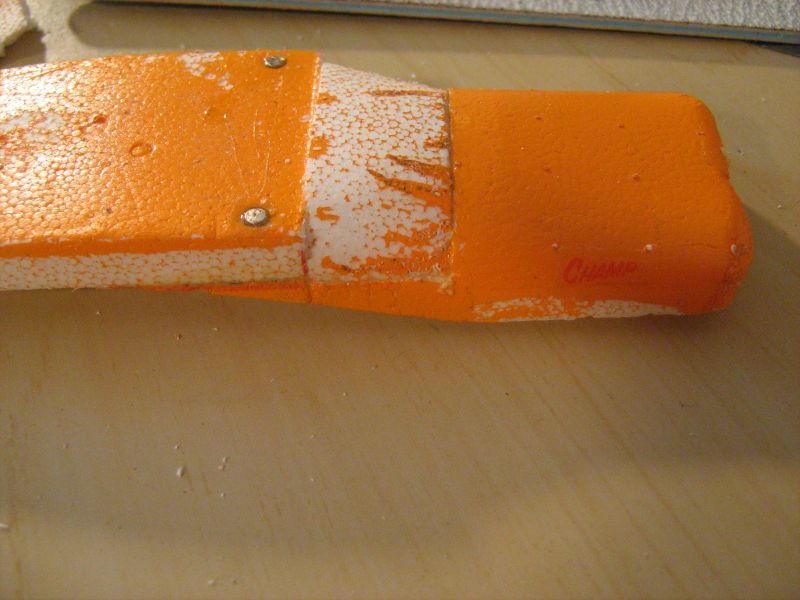
| 5 - tail with white foam added to the back
| 6 - addition before smoothing
| |
|

| 7 - after smoothing
| 8 - closeup
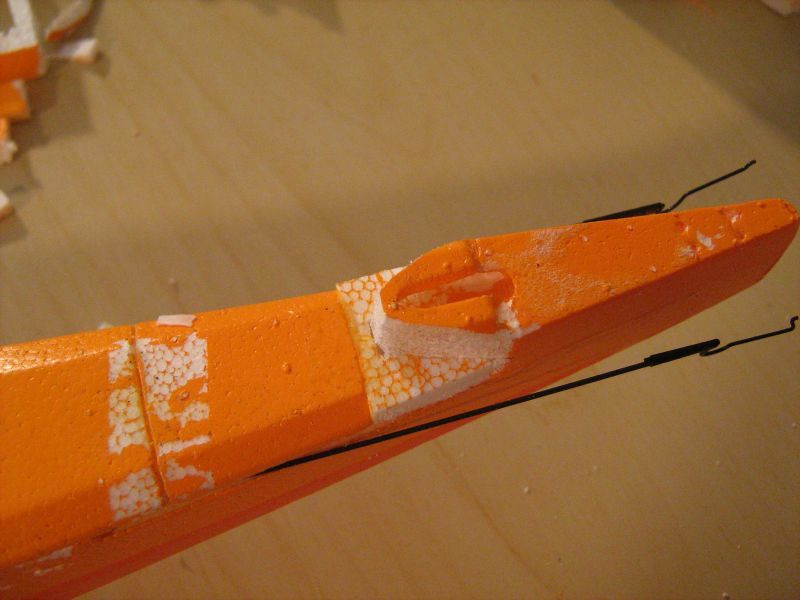
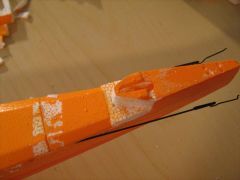
| 9 - windshield closeup
| |
|

| 10 - rounding off the bottom of the fuse.
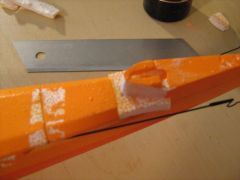
| 11 - filling holes, gaps and seams with filler putty
| 12 - fuse mostly finished
| |
|

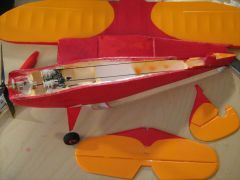
| 13 - fuse with wing in place
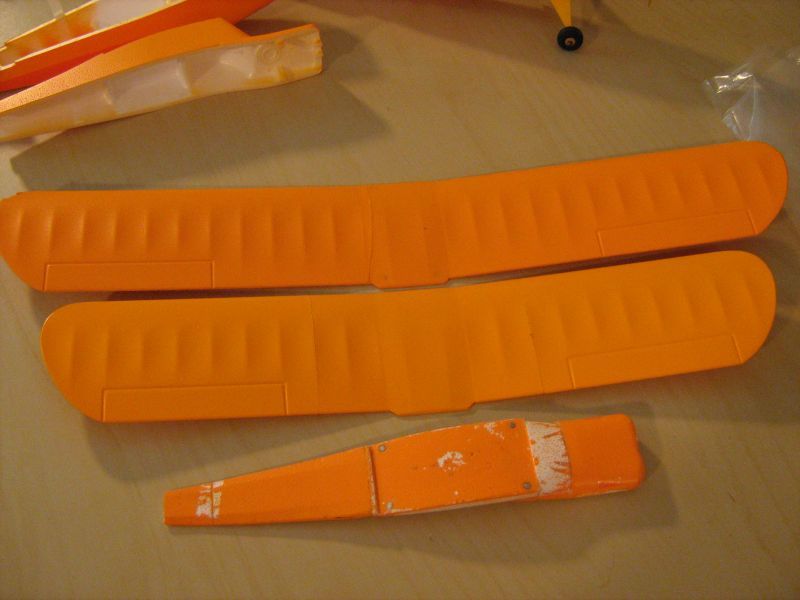
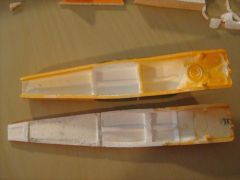
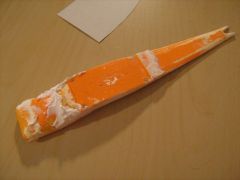
| 14 - ctock wing and clipped wing
| 15 - I reshaped the right wing
| |
|

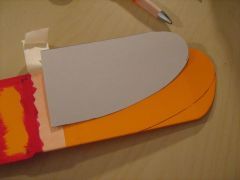
| 16 - made a pattern after the shape I made
| 17 - duplicated the pattern onto the left wing
| 18 - reshaped the left wing to match
| |
|


| 19 - both wings symetrical
| 20 - made a pattern for the tail pattern
| 21 - copied it onto the tail.
| |
|

| 22 - tail and fuse painted
| 23 - plane all assembled. Click to see windshield on the wing center (I never finished this.)
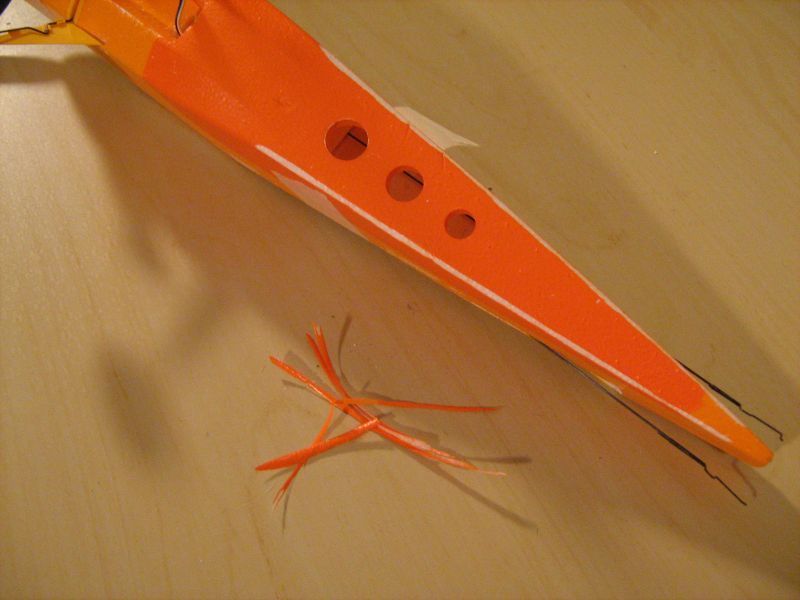
| 24 - Mag-Wing removed
| |
| | | | | | | | | | | | | | | | | | | | | | | | |
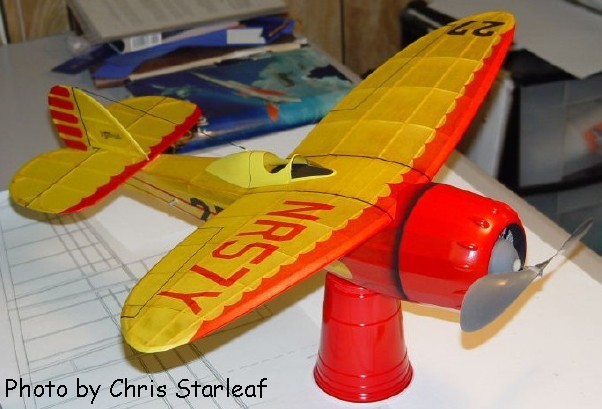
All Projects & Champ Mods HERE
|